# Vector editing
> Learn how to create and edit vector shapes in Sketch with the help of our step-by-step guides and video tutorials.
**URL:** https://www.sketch.com/docs/designing/vector-editing/ | **Last updated:** 2026-04-07
---
## Drawing a new shape using vectors
Press V or click on the Insert menu in the toolbar and select **Vector** to draw a new shape. Click anywhere on your Canvas to create your first point, then click again to create another point.
The line that connects points in your shape is called a path. The part of the path between two points is called a segment. You can add as many points as you like to draw the shape you want. To close the path, click the first point again.
If you click and drag when creating a point, you’ll create a mirrored point with a curved path (or Bézier curve), which you can control using the handle that appears connected to the point.

*How to create a simple vector shape using the Vector tool*
> **Note:** Hold ⇧ to snap a point at 45° angle increments from the previous point.
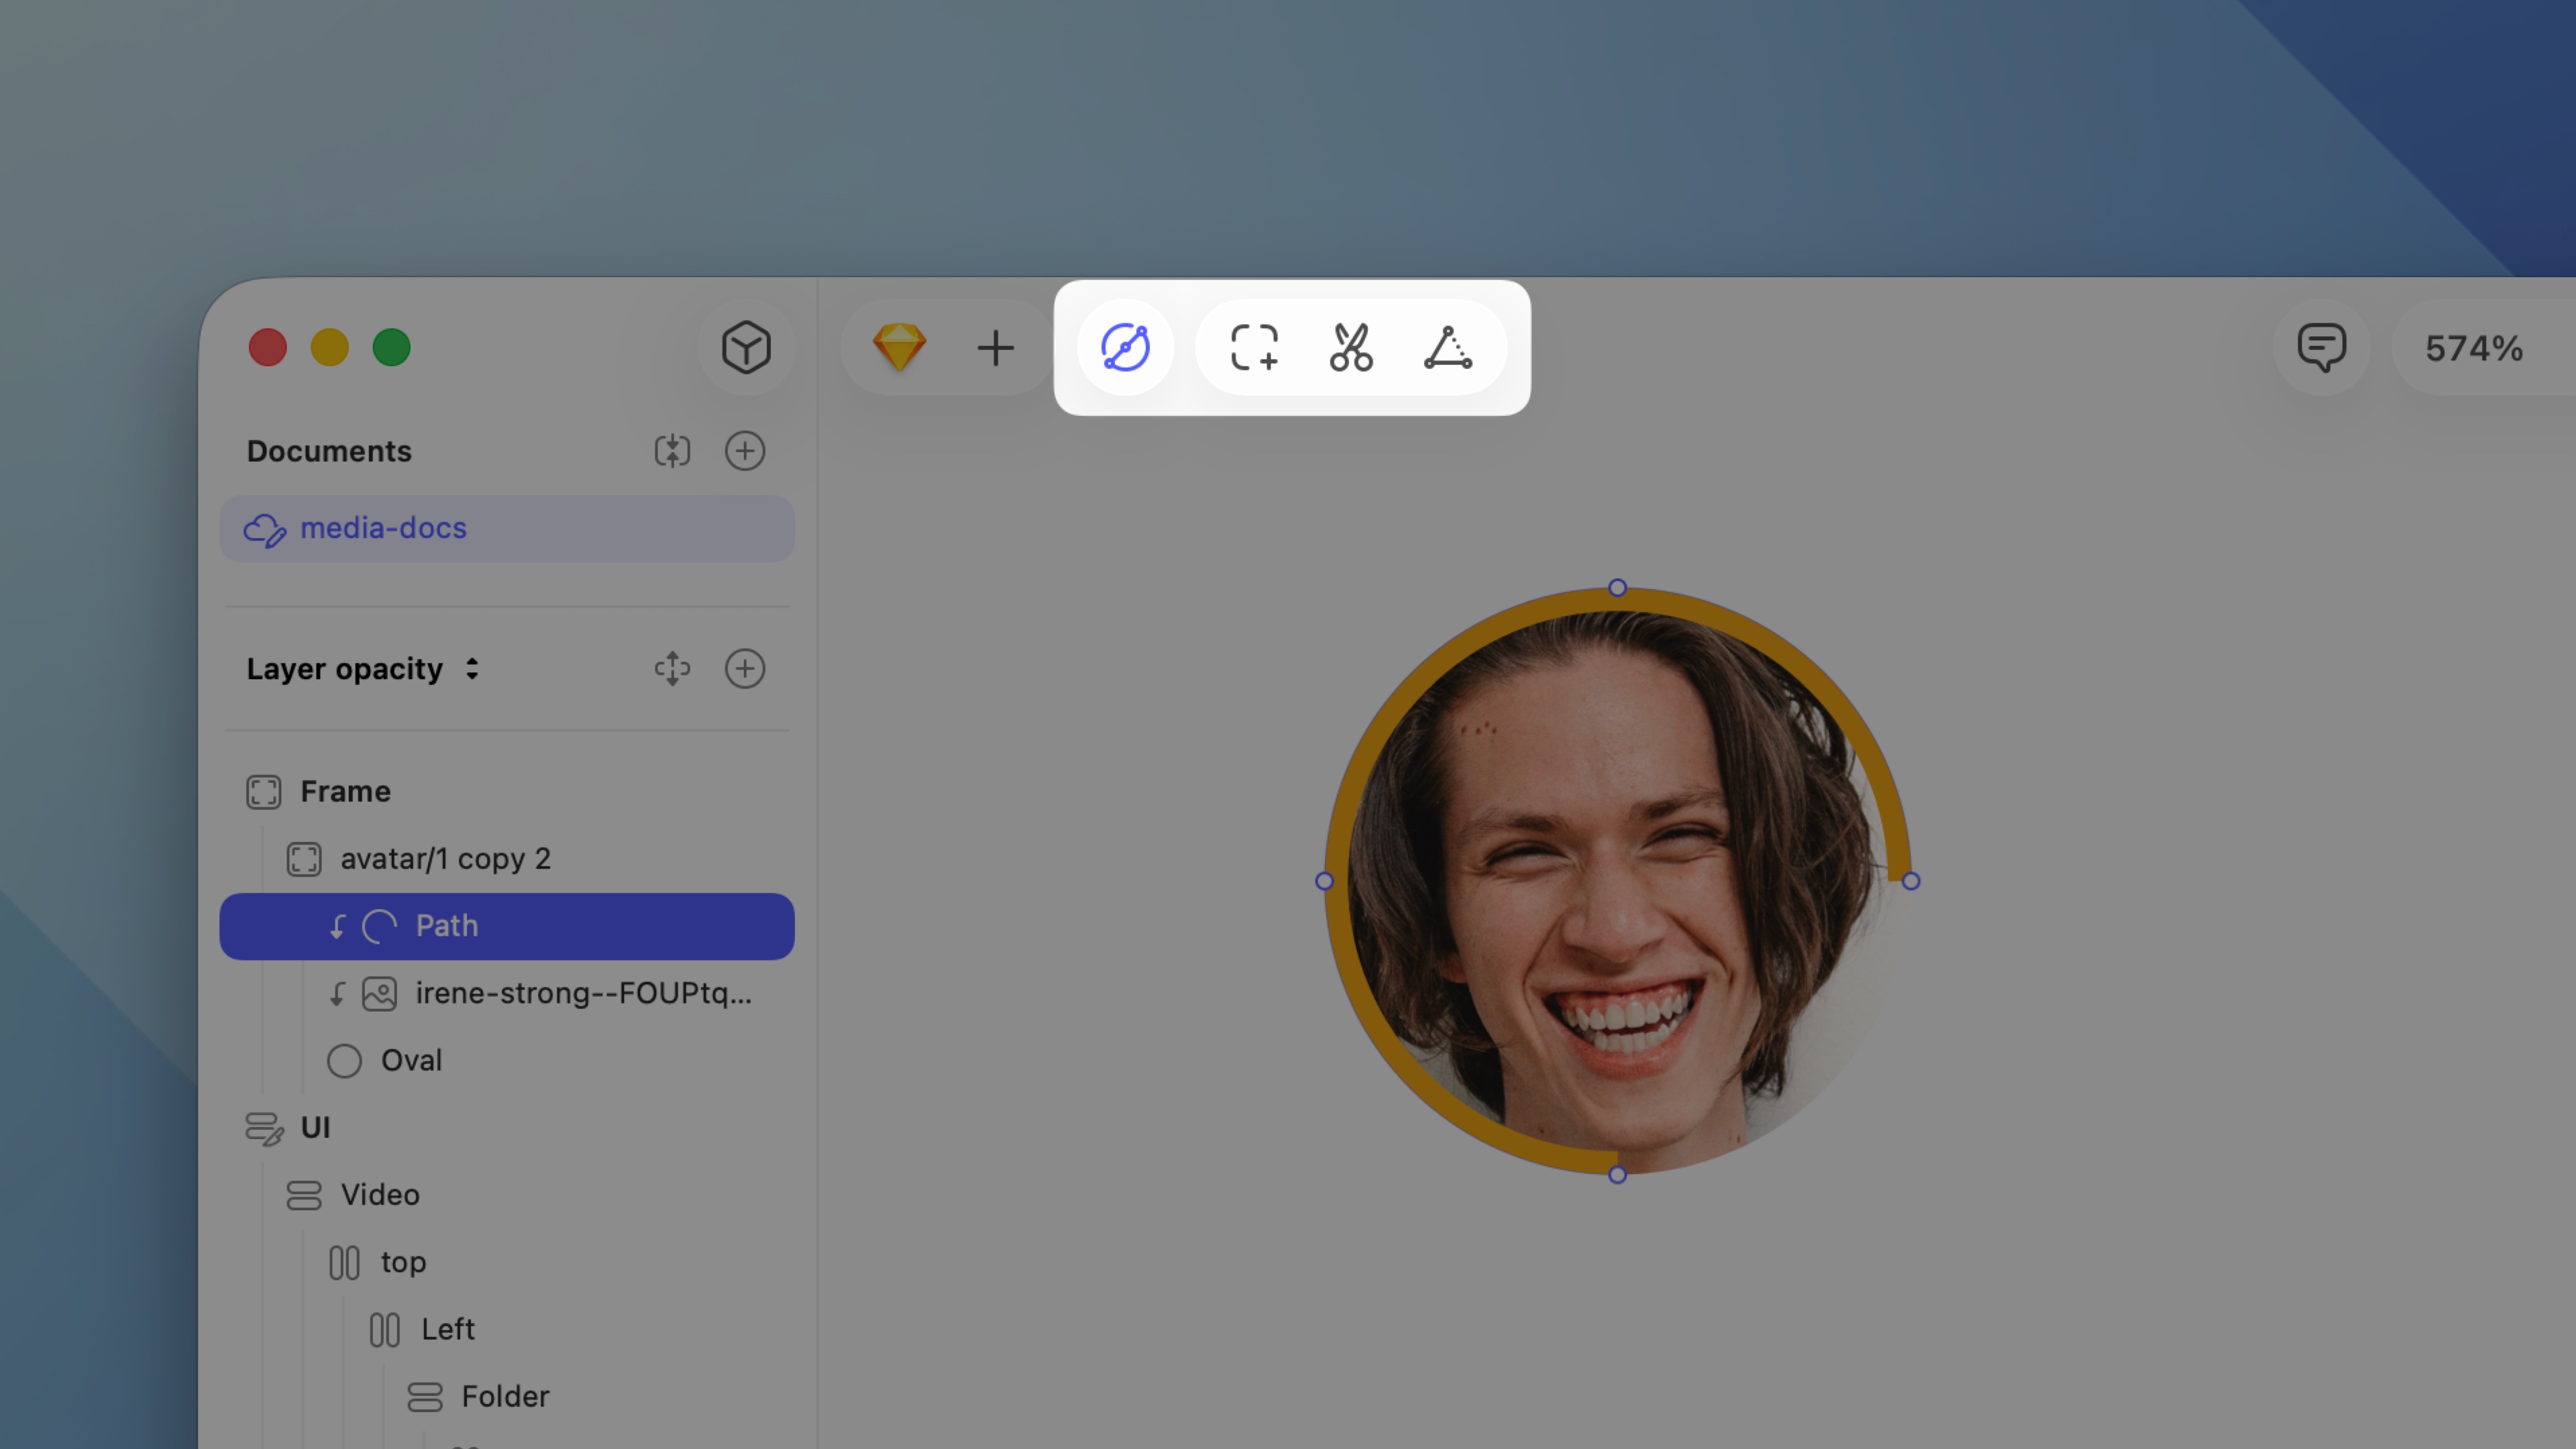
## Editing an existing shape
To edit an existing shape in vector mode, double-click on the shape layer, or select it and press **Return** ⏎. You can also select multiple shapes and edit them at the same time.
### Selecting points
Press **Return** ⏎ on a vector shape to enter vector editing mode, then click on any point on the shape to select it.

*Selecting and editing points in a vector shape*
To select multiple points in a shape, hold ⇧ and click on each point. To deselect, click on a selected point again.
> **Note:** To jump from one point to the next, press Tab — or ⇧Tab to jump to the previous point.

*Multiple points of a vector shape being selected and deselected*
While in vector editing mode you can also click and drag from outside of a shape to select points inside it. Press ⇧ as you drag to deselect any selected points or add new points to your selection.

*Multiple points of a vector shape being selected and deselected by dragging*
To select points in open shapes while in vector editing mode, press X and then click or drag over the points, or click the Selection button in the toolbar.
You can also select multiple points across different shapes by clicking and dragging, so long as you’ve selected them all and are in vector editing mode.

*Multiple points being selected and edited across multiple vector shapes*
To select all points in a shape while in vector editing mode, press ⌘A, or select **Edit** > **Select** > **Select All** from the Menu Bar.
### Moving points
To move a point, select and drag it. You can also use the arrow keys on your keyboard, or change its X and Y values in the Inspector. You can hold shift to move points along a single axis, just like moving layers.
You can also use the [Distribute and Align tools](/docs/designing/layer-basics/aligning-layers/) to equally distribute or align multiple vector points.
### Changing point types
When you select a point, you can change how it affects the path by selecting from four different point types in the Inspector:
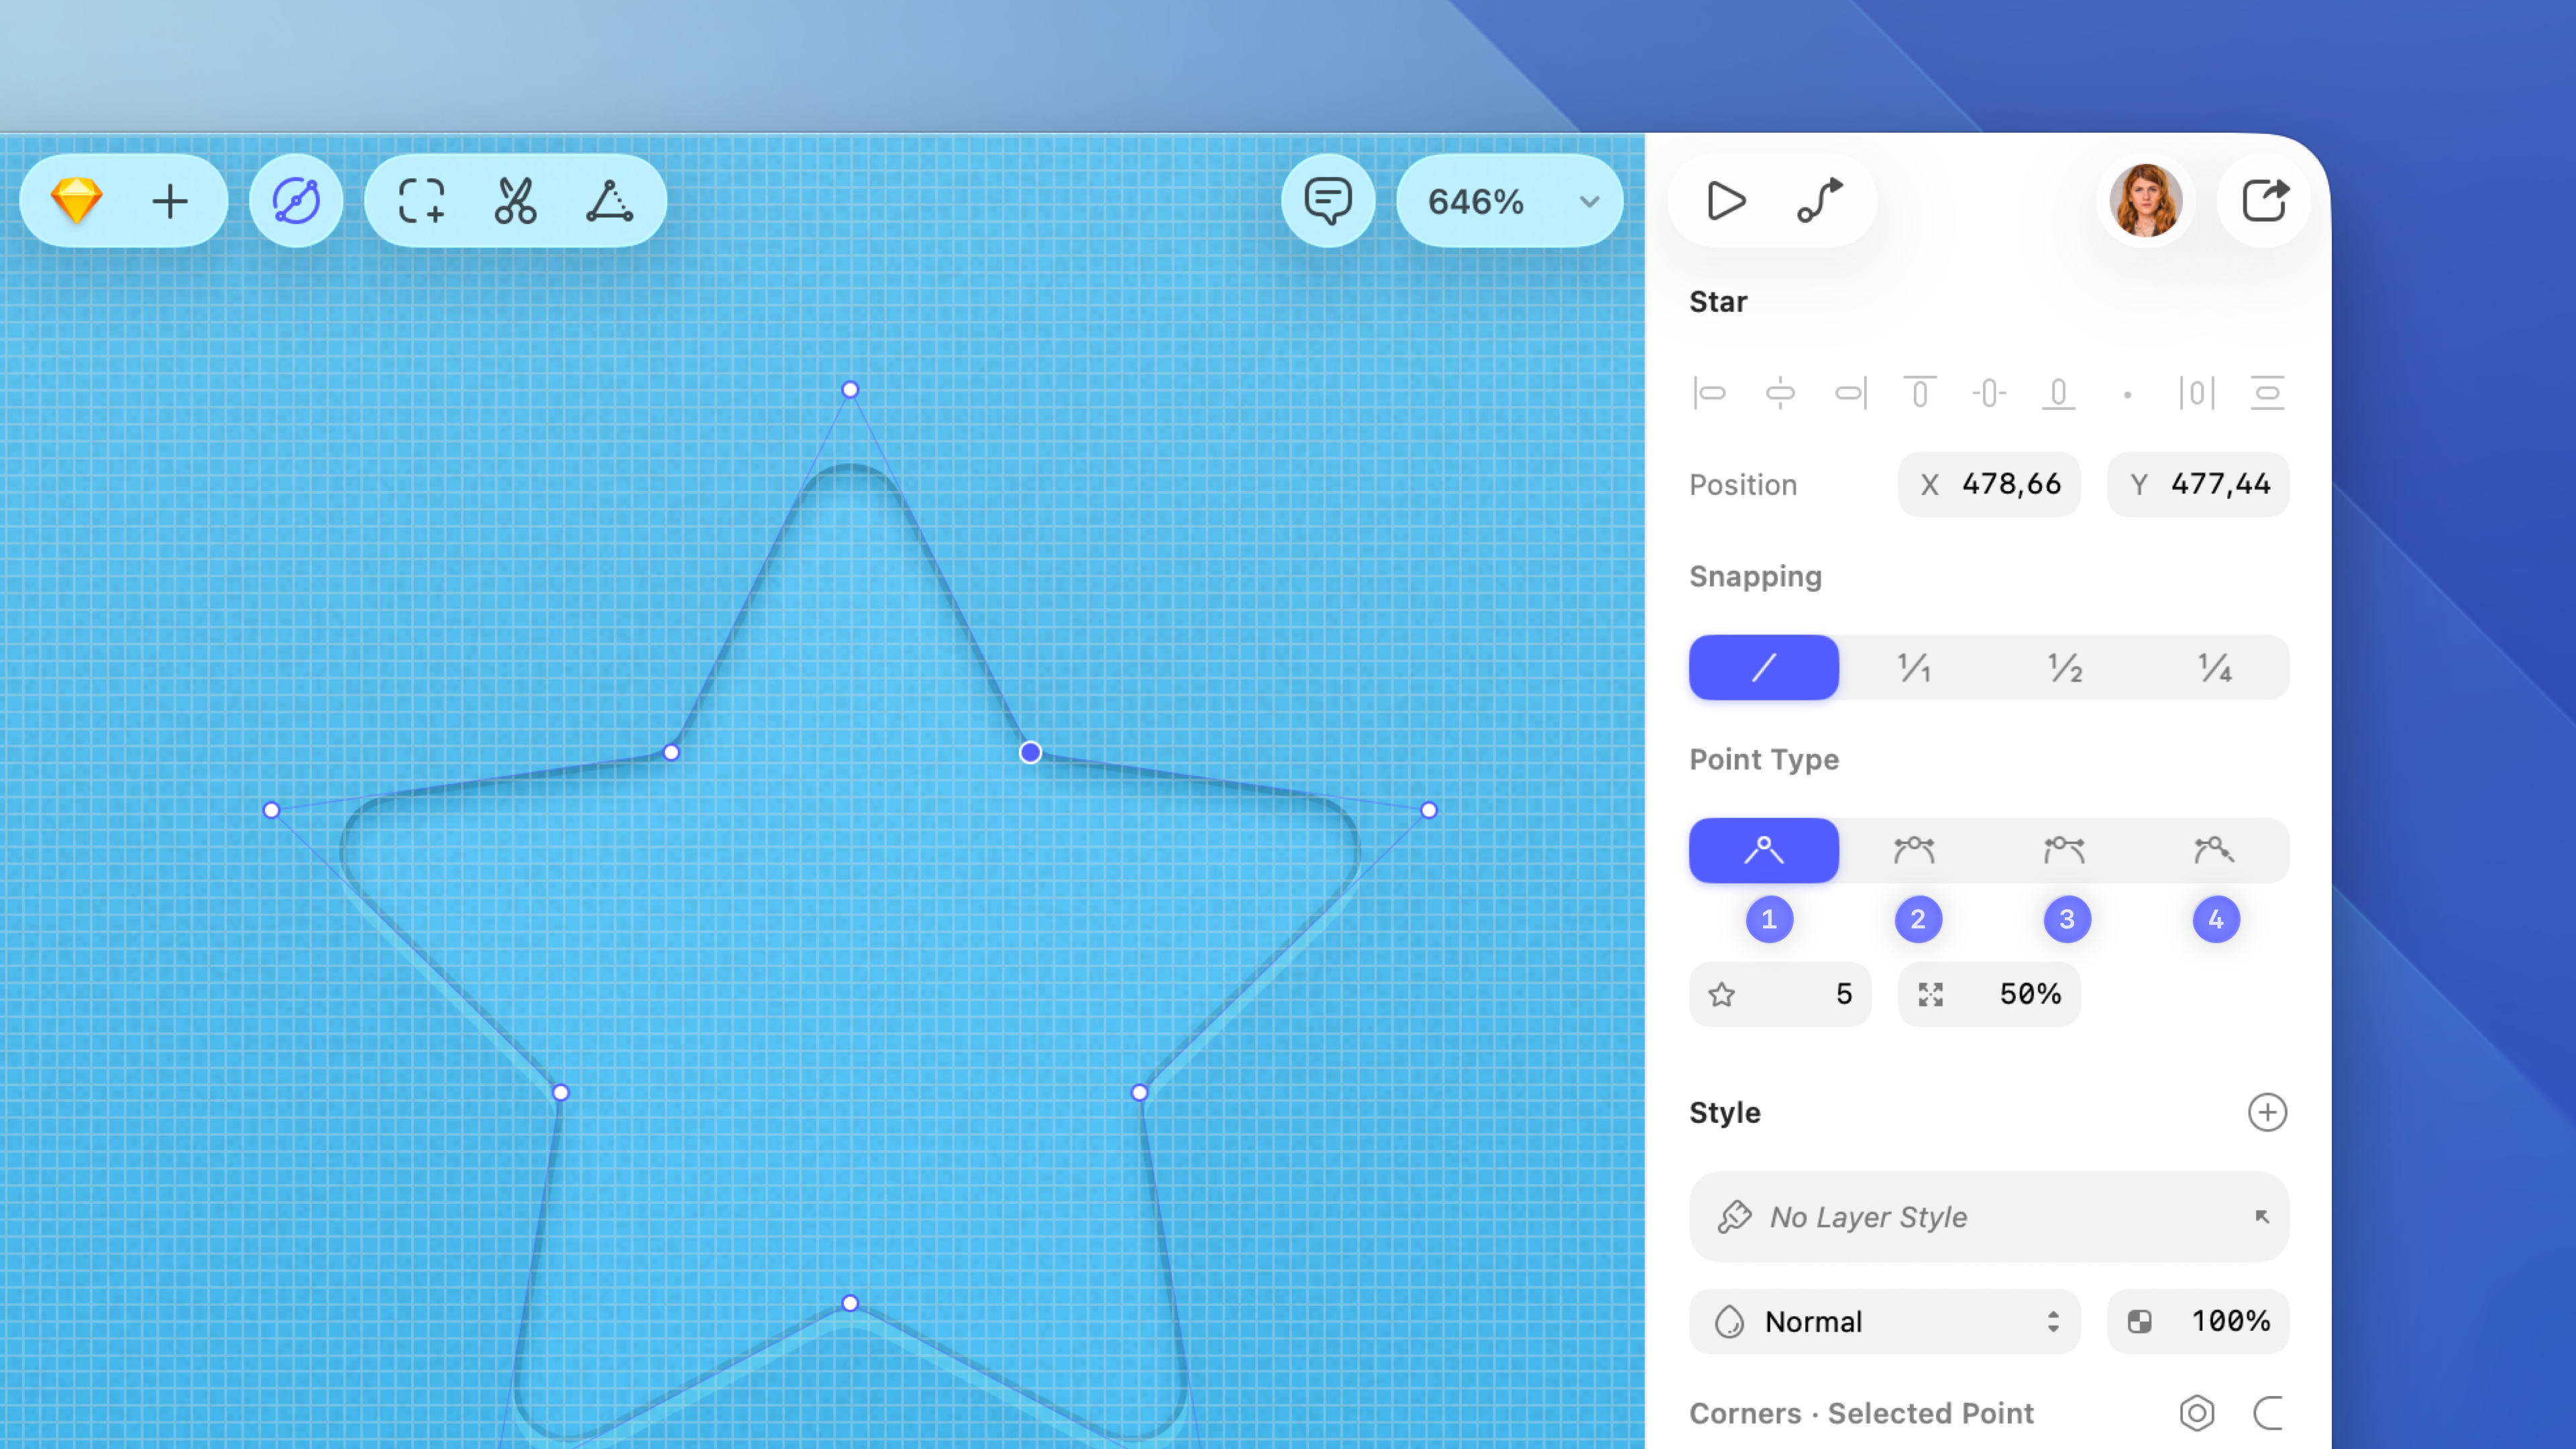
*The four point types you can use in vector editing mode*
1. **Straight ** is the default point type which gives you a straight path without any handle control points. If you want to create rounded corners on a Straight point, drag the Radius slider. You can set individual corner radii for every point on your shape.
1. **Mirror angle and length ** points create curved paths (or Bézier curves) and have two handle control points. You can drag a control point to adjust your curve, which the other point will mirror. To create a Mirror angle and length point, click and drag with the Vector tool , or double-click on any existing Straight point.
1. **Independent ** points have handles that are completely independent of each other. To change your curve into a straight line, select either handle control point and press **Backspace** ⌫ to delete it. You can disconnect any point by holding ⌘ while you drag one of its handle control points. When you hold ⌘ and create a new point after a Mirror angle and length or Mirror angle point, you’ll make that point Independent. This won’t affect the curve leading to it.
1. **Mirror angle ** points have handles that can be different distances from the vector point, but share the same angle.
> **Note:** If you’re on a version prior to [Dublin](/changelog/dublin/), these point types were called Mirrored, Disconnected, and Asymmetric.
Holding ⇧ while you drag a handle control point will change its distance from the vector point without changing its angle, which is handy for fine-tuning your curves.
You can quickly change the point type of any point you’ve selected by pressing:
| Action | Shortcut |
|--------|----------|
| Straight | 1 Mirror angle and length |
To quickly see all the handles that control curved points in a vector shape, select it and hold ⌥.
## Inserting points
You can insert a new point anywhere along a path by clicking on it. Alternatively, click and drag to create a curved path . To create a point in the exact center of two existing points, hold ⇧.

*How to add a new point exactly in the middle of two existing points*
### Bending a segment
Hold ⌘ then click and drag on any segment (the path between two points) to bend it. This will add handle control points to the points either side of it.

*How to add a curved path to a vector shape*
### Opening and closing paths
A shape’s path can either be closed or open. When a shape is closed, the path connects the first and last points. Open paths have a gap between the first and last points.
To close a path by connecting the first and last points, click **Close Path** in the toolbar, choose **Layer** > **Path** > **Close Path** in the Menu Bar, or press ⌘⌥O. You can use the same method to open a closed path.
*Click Close Path in the toolbar to close an open path*
To create an open path, add your points, then choose **Layer** > **Edit** in the Menu Bar or press **Return** ⏎ to leave vector editing mode. The next time you edit this shape, you can continue where you left off and place your next point after the last or before the first point.
You can also use the [Scissors tool ](/docs/designing/shapes/editing-shapes/#using-the-scissors-tool) to open a path and cut away a segment between two points.
When you’re editing an open path and click on the opposite end point, you can choose in [Settings](/docs/interface-and-settings/mac-app-settings/) > **Layers** whether that closes the path or selects that point.
> **Note:** If you add a fill to a shape with an open path, the fill will still act as if the path was closed.
### Joining paths
Select two or more open paths and choose **Layer** > **Path** > **Join** from the Menu Bar to combine them into a single path. The bottom-most path will stay in position while the paths above it may move slightly to fit together.
### How points snap to pixels
When you’ve selected a vector shape, you can click the vector snap icons near the top of the Inspector to select whether vector points snap to full pixel edges , half pixels , quarter pixels — or choose not to snap them at all .
To get a better idea of where your points are snapping to, zoom in and enable the Pixel Grid by selecting **View** > **Canvas** > **Show Pixel Grid on Zoom**, or pressing ⌃X. When you zoom in, you’ll see points snap to the pixel level you selected as you move them.
### Turning a border into outlines
Select any shape with a border and select **Layer** > **Convert to Outlines** or press ⌥⌘O to turn that border into a shape with its own fill.
For open paths, converting to outlines only creates a shape group when the result requires one.
### Offset Path
To expand or contract a shape’s outline, select it and choose **Layer** > **Path** > **Offset**, or select **Offset** from the **Tools** dropdown in the toolbar. A separate panel opens where you can drag the slider to preview the offset on the Canvas. You’ll also see an outline of the original shape to help you compare your changes to its original size. You also have the option to make your offset a duplicate layer.
### Reversing the order of a path
If you have a shape with an open path, it has a clear direction from its start point to its end point. To reverse that direction, choose **Layer** > **Path** > **Reverse Order** from the Menu Bar. That means you can now add a new point at the newly created end point, or reverse the direction of an arrow that can appear as part of a border.