# Editing shapes
> Flip, rotate, skew, and cut shapes in Sketch — including the Transform tool, Scissors tool, and Rotate Copies.
**URL:** https://www.sketch.com/docs/designing/shapes/editing-shapes/ | **Last updated:** 2026-04-07
---
## Editing shapes in the Inspector
Some shapes come with unique customization options, which you’ll find in the Inspector. For example, you can choose different start and end point styles with arrow shapes. Or, if you added a polygon or a star shape, you can adjust the number of sides and points respectively using the sliders.
## Flipping and rotating shapes
### Flipping shapes
You can flip shapes horizontally or vertically using the two buttons in the Inspector, or with the keyboard shortcuts ⇧H and ⇧V. The flip buttons stay active until you flatten the shape using **Layer** > **Combine** > **Flatten**, so you can click again to reverse the change.
### Rotating shapes
You can quickly rotate any shape you’ve selected by placing your cursor near its corner handles and dragging when the rotate cursor appears. If you click without dragging in the rotation area, it will select the layer behind instead. Clicking and dragging rotates the selected layer. Hold ⌘ and drag to skip rotation entirely — this selects and moves the layer behind in one action.

*Quickly rotate a shape by holding the Command key while dragging a selection handle*
Hold ⇧ while rotating to snap to 15° increments.
To rotate a shape, you can enter a value in degrees in the Inspector. Use positive values to rotate clockwise, or negative for counter-clockwise.
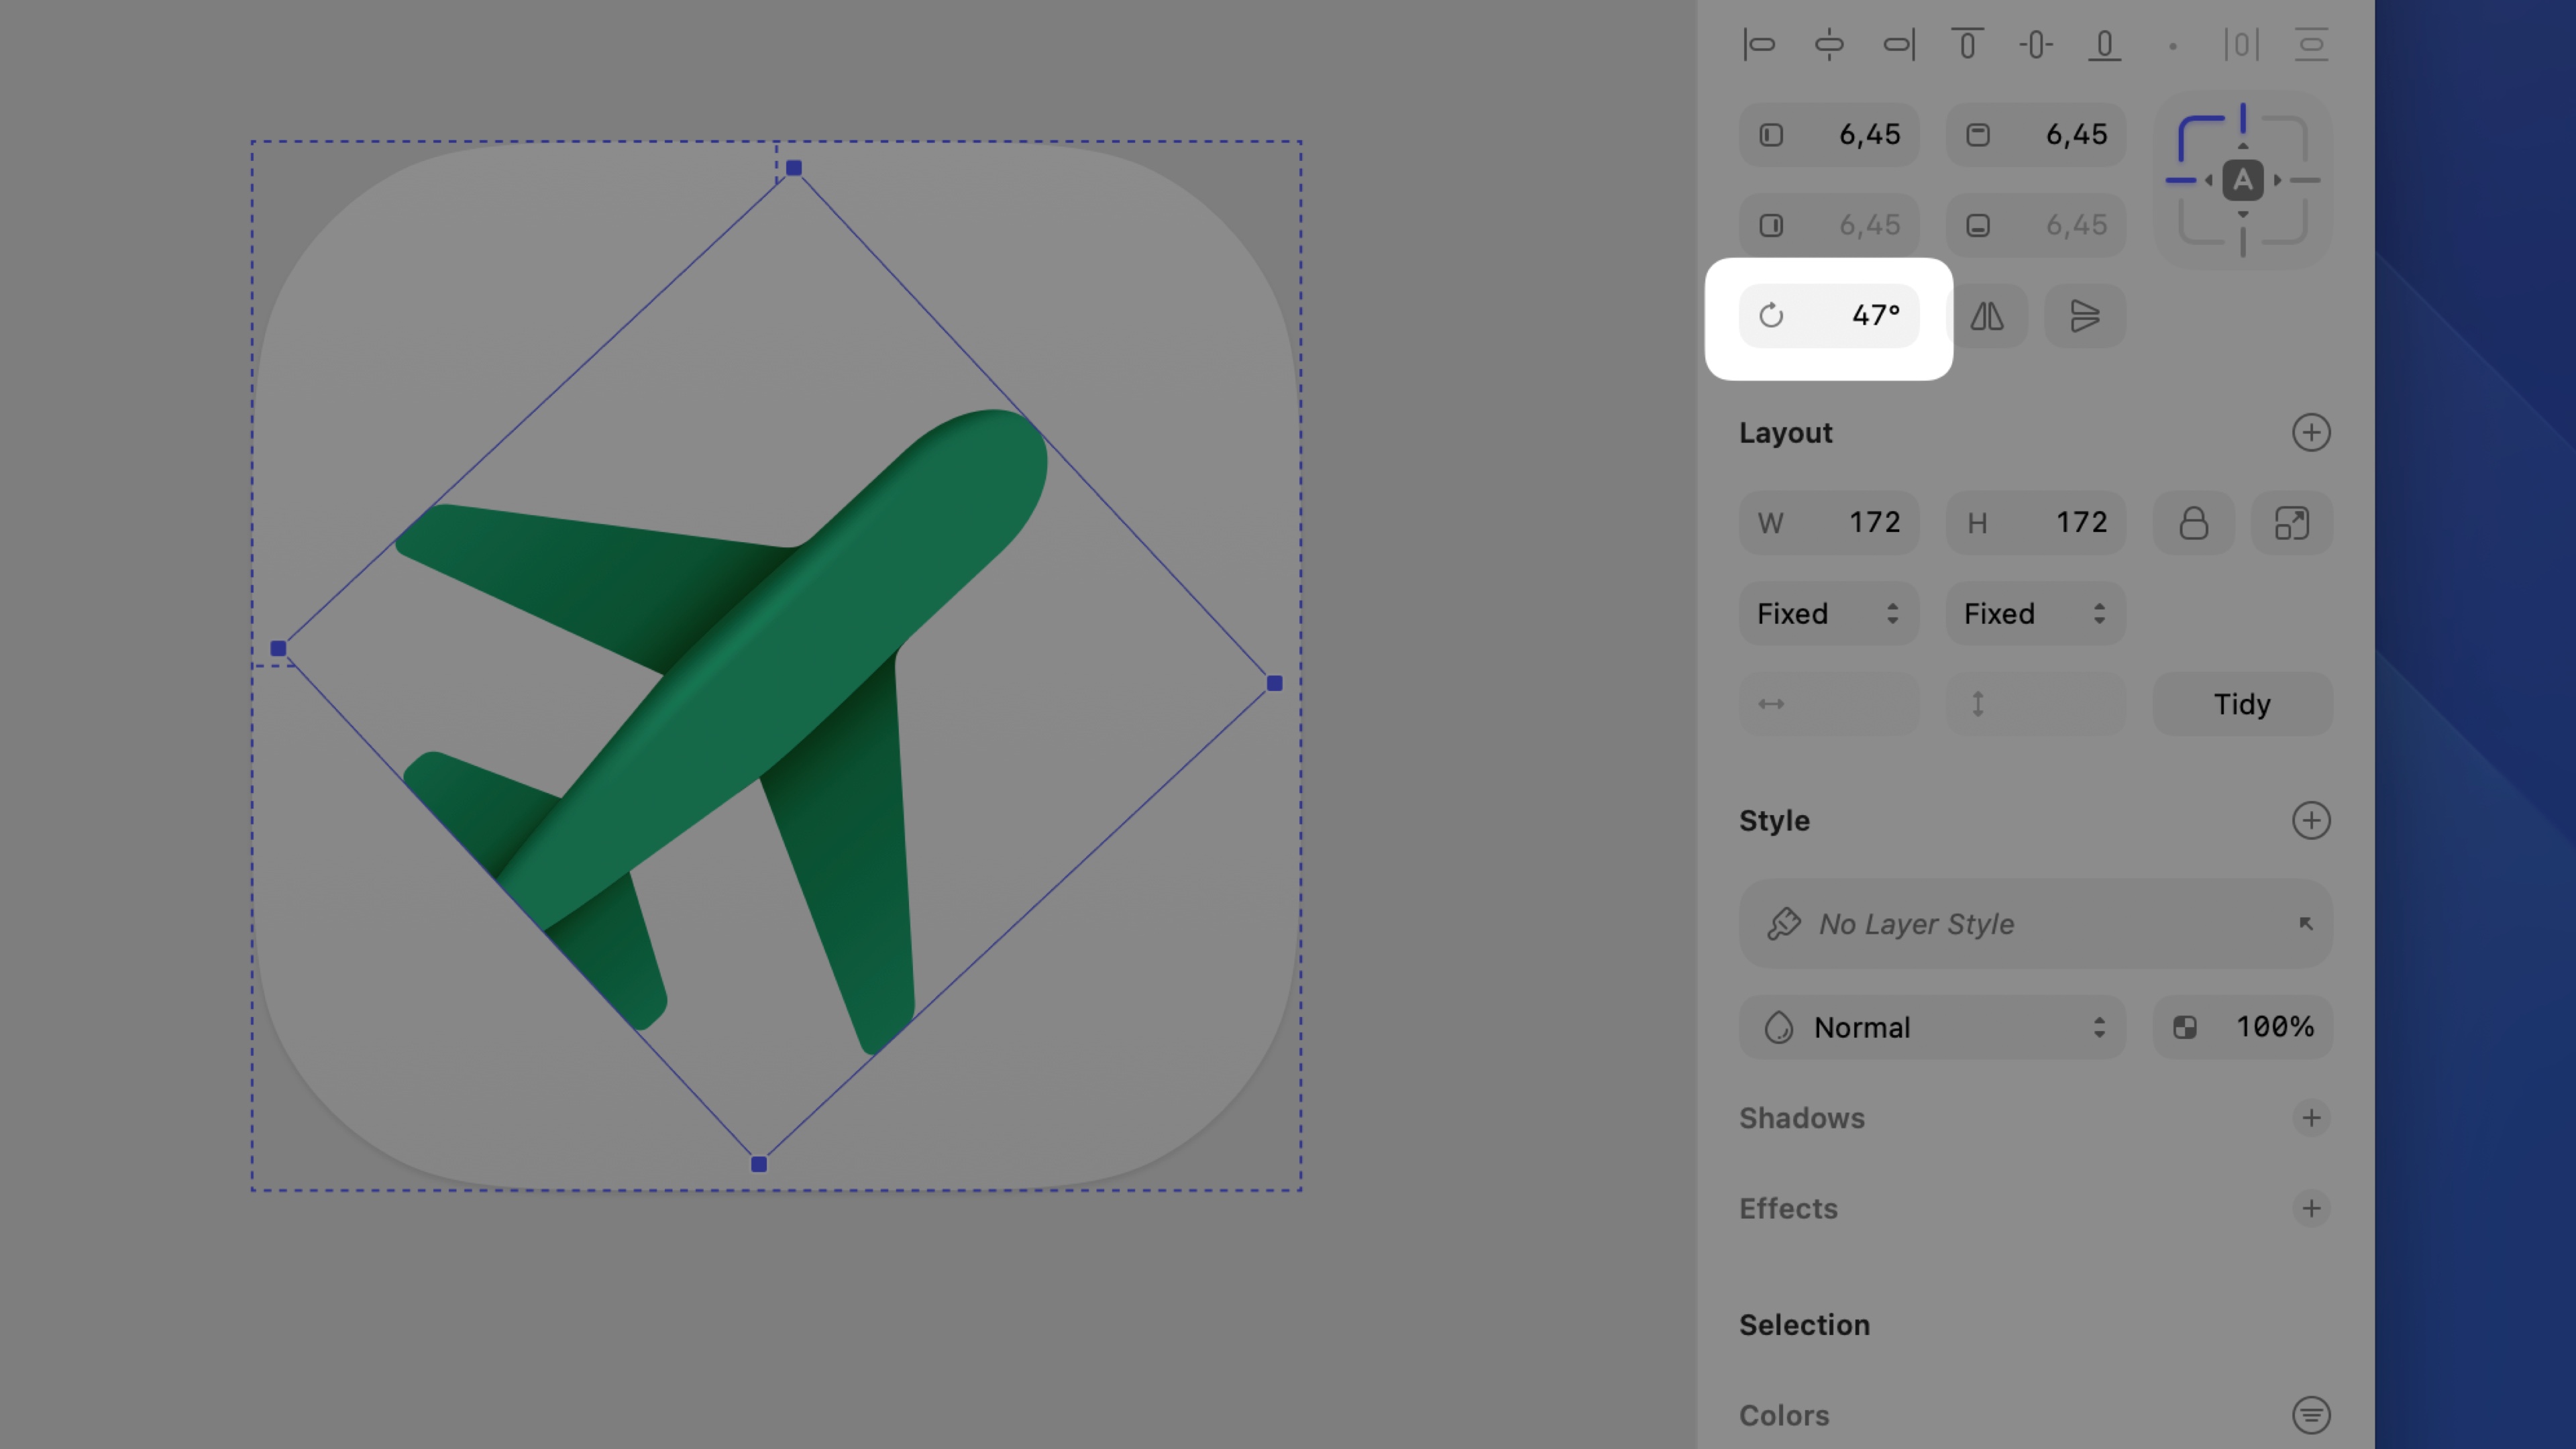
*Enter a value in the rotation field in the Inspector to rotate a layer to an exact angle*
Alternatively, select a shape and press ⌃⌘R, then click and drag anywhere outside the shape to rotate it.
To change the axis on which your shape rotates, click and drag the crosshair at its center to the point you want to rotate around. To reset the center point, select your shape again.

*Click and drag a shape’s center point crosshairs to change its rotational axis*
You can apply your changes and reset the rotation value to 0° by flattening the shape with **Layer** > **Combine** > **Flatten**.
## Editing shapes in vector editing mode
> **Note:** For the full guide on using the vector editing tool, head over to the [vector editing](/docs/designing/vector-editing/) section.
To edit a shape in vector editing mode, either double-click on it, or select it and press the **Return** ↵ key.
When you enter vector editing mode, you’ll see circular points connected together by paths. Click on any of the points and drag them to change a layer’s shape.

*While in vector editing mode, click and drag on a point to change a layer’s shape*
To insert a new point, enter vector editing mode, hover over a path and click. To delete a point, select it and press the **Delete** ⌫ key.

*While in vector editing mode, click on a shape’s path to insert a new point*
When you select one or more points in vector editing mode, the Inspector shows a **Corners · Selected Point** section with three controls: **Corner settings** to adjust smoothing, **Toggle maximum corner radius** to set the radius to its maximum value, and a **Corner radius** field to enter a precise value.
The paths between your shape’s different points can be straight lines or Bézier curves, depending on the point type. Double-click on a straight point to change it to a Bézier curved point.
When you change a point to create a curved path, you can use the two handle control points that appear to adjust the curve.

*Use the handle control points to adjust a Bézier curve*
To create points at each end of the curve, flatten your shape with **Layer** > **Combine** > **Flatten**.
## Using the Transform tool
Use the Transform tool to skew or otherwise change a shape.
Select one or more shapes and head to **Layer** > **Transform** > **Transform**, or open the **Tools** menu in the toolbar and select the Transform tool from there. You can also use the keyboard shortcut ⌃⌘T.
The Transform tool adds points to each corner of your shape(s), as well as points between each corner. Click on a point and drag it to transform and skew your shape(s).

*Use the Transform tool or skew or otherwise change a shape*
If you click and drag on a point between two corners, you’ll move both corners at the same time.

*Click and drag on a point between two corners to move them together*
When you drag a corner point, the opposite corner moves in the opposite direction. This depends on whether you’re dragging horizontally or vertically. To control a single corner only, hold ⌘.
## Using the Scissors tool
Use the Scissors tool to cut away paths from shapes.
Select the shape you want to edit, enable the Scissors tool via **Layer** > **Path** > **Scissors** and click on any paths to remove them. Alternatively, select the shape and open the **Edit** menu in the toolbar, then select the Scissors tool from there.
> **Note:** Keep in mind that the Scissors tool only affects lines or borders — and not fills.
When you’re done cutting paths, click outside of the shape, or press Escape Esc or Return ↵.
## Using the Rotate Copies tool
The Rotate Copies tool takes a single shape and rotates copies of it around a point.
Select a shape and head to **Layer** > **Path** > **Rotate Copies**, enter how many copies you want to create, then click **Rotate**. Alternatively, select the shape and open the **Tools** menu in the toolbar, then select the Rotate Copies tool from there.
Use the handle that appears in the center to position your copies. When you’re done, press Escape Esc or Return ↵.