# Images
> Learn how to work with images in Sketch with the help of our step-by-step guides and video tutorials.
**URL:** https://www.sketch.com/docs/designing/images/ | **Last updated:** 2026-04-07
---
Aside from working with vector-based shapes, you can also add and edit images directly in Sketch.
## Inserting images
The simplest way to add an image to a Sketch document is to drag it straight from your Mac or a browser window (or right-click to copy, then paste it into Sketch). Alternatively, choose **Insert** > **Image** from the Menu Bar and select an image, or choose **Image** from the Toolbar.
> **Note:** Do you use Sketch in full screen mode but want to quickly insert an image from your Mac? As you drag an image from Finder, press ⌘⇥ to quickly bring Sketch to the foreground again, then drop your image.
When you drag and drop multiple images onto the Canvas, they automatically arrange in a grid. If the images vary in size, they fall into a masonry-style grid to reduce empty space.
## Replacing images
If you’ve resized and styled an image layer in your document but want to replace the image itself, select it, control-click and choose **Replace Image** in the contextual menu.
You can also hold ⌘ while dragging an image from your Mac to replace an existing image layer or image fill, or to add a new image fill to a shape or frame.
If you’ve resized an image and want to restore its original dimensions, control-click on the image layer and choose **Reset to Original Size**.
## Reducing image size
Adding lots of images to a document will increase its file size and ultimately start to slow down the Mac app. To help prevent this, try to reduce an image’s size using **Layer** > **Image** > **Minimize File Size** from the Menu Bar. Sketch will also tell you if it can’t reduce the file size any further.
> **Note:** If your document contains lots of images, try **File** > **Reduce File Size** as a quicker alternative to reducing image sizes one by one.
## Editing images
To edit an image you added to the Canvas, double-click on it to bring up the image edit tools in the toolbar. Alternatively, select the image and press ⏎ on your keyboard.
Image editing tools include:
- **Selection:** Drag a rectangular selection on the image.
- **Magic Wand:** Click and drag anywhere on the image to select a specific area. The further you drag, the greater the selection tolerance.
- **Crop:** Crop the image to the area you’ve selected.
- **Fill:** Replace the selected area with a solid color. Make a selection first, then click **Fill** in the toolbar and choose a color.
After you’ve selected an area, you can hold ⇧ to add more selections — or hold ⌥ and drag over selections to remove them.
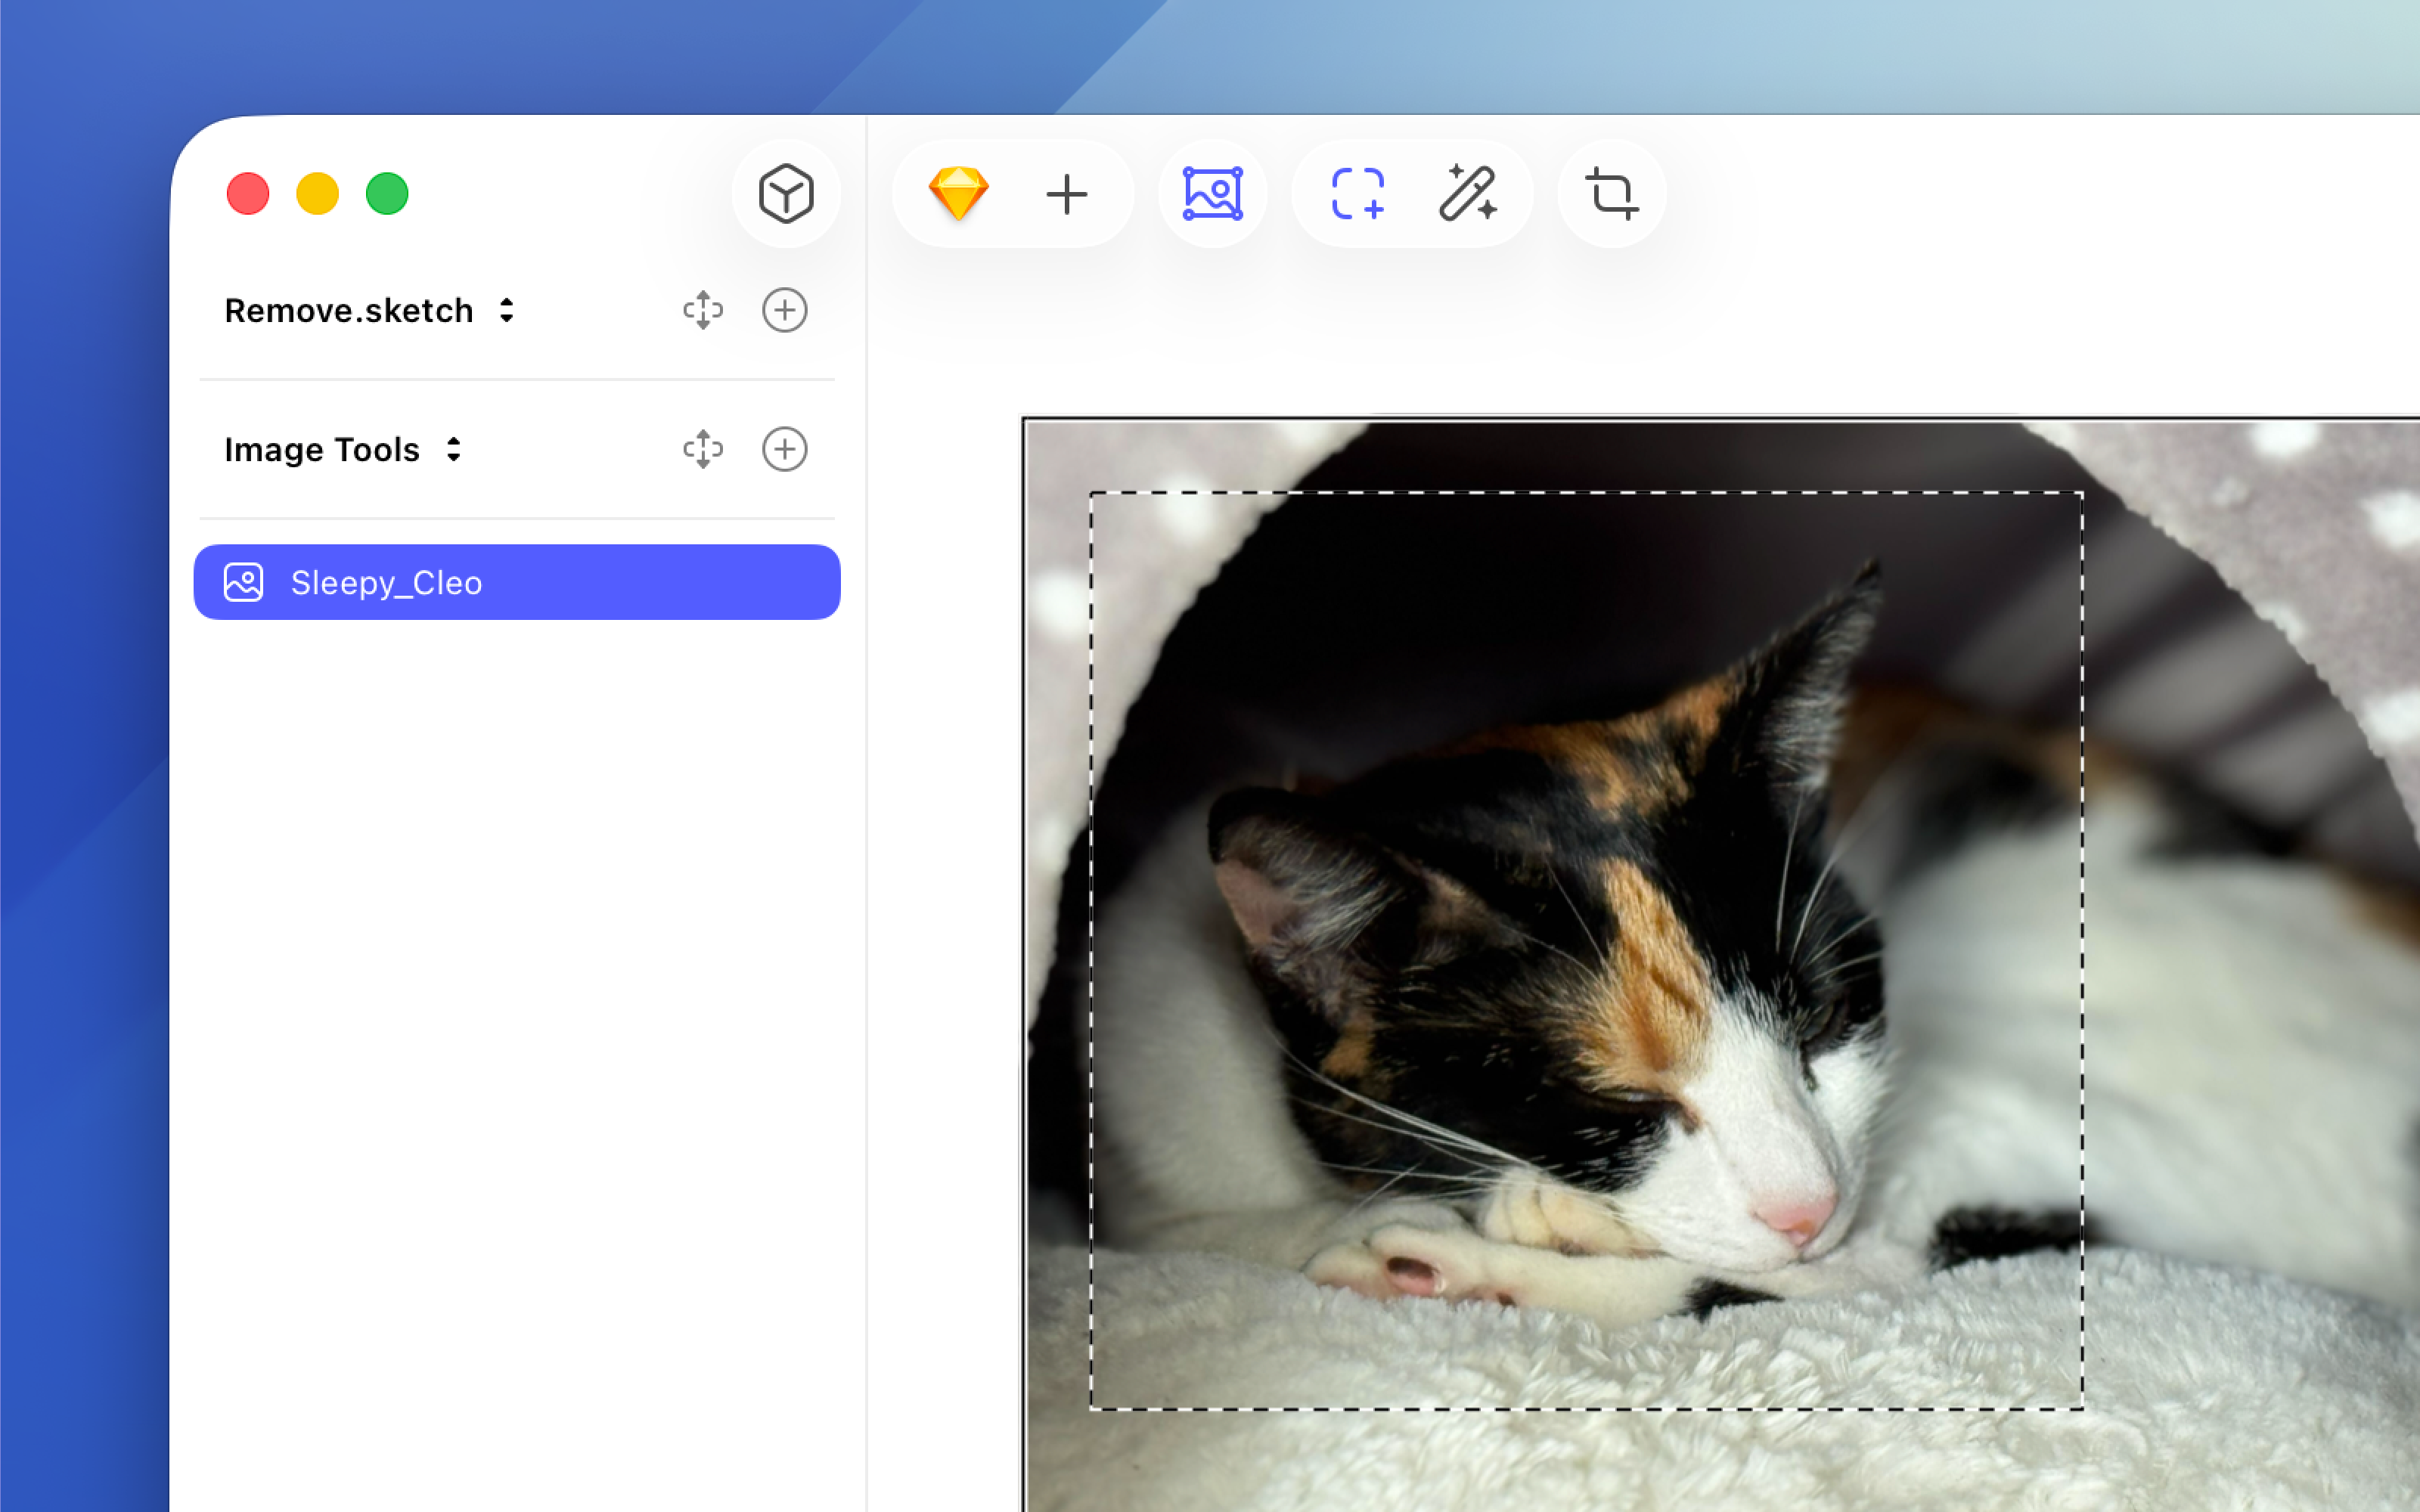
*The options you’ll see when you make a selection marquee on an image.*
When you’re done editing, click anywhere outside the image, or press Esc or ⏎. If the image has a transparent background, the app automatically trims any transparent edges when you exit.
In addition to image editing tools, you can apply various **Styles** to your image in the Inspector, including [Fills](/docs/symbols-and-styles/styling/fills/#adding-a-new-fill), inner and outer [Shadows](/docs/symbols-and-styles/styling/shadows/), as well as various types of [Effects](/docs/symbols-and-styles/styling/effects/).
You can make non-destructive color adjustments to images using the **Color Adjust** effect in the Inspector. Select an image, apply the effect, then use the sliders or enter values to change hue, saturation, brightness, or contrast.
To reset a slider to its default value, double-click it.
To restore the original colors, toggle the effect off in the Inspector, or hold ⌥ to remove it completely.
You can turn off Effects and Color Adjust changes entirely by pressing the button in their respective panels in the Inspector.
## Removing an image background
You can automatically remove the background from any image in your document, whether it contains a person or an object. This makes it easy to isolate subjects and blend them smoothly into your designs without relying on external tools.
When you use background removal, it removes the background and keeps the main subject intact. The process runs locally and may take a few moments depending on the size and complexity of the image.
To remove the background from an image:
1. Insert an image onto your canvas
1. Click the **Remove Background** button.
You can also use **Layer** > **Image** > **Remove Background**, or open the [Command Bar](/docs/interface-and-settings/the-mac-app-interface/the-command-bar/) and search for _Remove background_.
> **Note:** You can remove the background from multiple images at once, although processing several large images together may take a bit longer.
Background removal doesn’t automatically trim the resulting transparent edges. To trim them, click **Trim Transparency** in the toolbar, choose **Trim Transparent Pixels** from **Layer** > **Image**, or control-click the image and choose **Trim Transparent Pixels** from the contextual menu.
## Trimming transparent pixels
**Trim Transparent Pixels** removes the invisible empty space around an image so the layer boundary matches what you see. This keeps alignment and spacing accurate.
Select an image and click **Trim Transparency** in the toolbar, or choose **Trim Transparent Pixels** from **Layer** > **Image**. You can also control-click the image and choose **Trim Transparent Pixels** from the contextual menu. The option only appears when the image has transparent edges.