# Frames
> Learn how to create and edit Symbols in Sketch with the help of our step-by-step guides and video tutorials.
**URL:** https://www.sketch.com/docs/designing/frames/ | **Last updated:** 2026-05-19
---
If you’re designing screens for a mobile app, pages of a website, or putting together a UI, you’ll want to use Frames to organize your work. Frames are a container for interface design and other layout work. They can hold both an entire design and individual parts of it.
## Useful Shortcuts
| Action | Shortcut |
|--------|----------|
| Insert a frame | F |
| Group selection in a frame | ⌘F |
| Auto-pin selected layers | ⇧A |
| Auto-pin contents of a frame | ⌥⇧A |
| Resize frame without adjusting contents | ⌘ while resizing |
| Resize frame without adjusting contents | ⌥⌘← → ↑ ↓ |
## Inserting frames
Press F to use the Frame tool. You can also go to **Insert** > **Frame** in the menu, toolbar, or look for _frame_ in the Command Bar. When you insert a top-level frame, it gets a white fill by default.
With the Frame tool you can:
- Click and drag on the Canvas to draw a new frame.
- Select a template from the Inspector to create a new frame from it.
- Click on the Canvas to insert a new frame with the dimensions of the last top-level frame you interacted with.
## Clip contents
Hides any part of a layer that extends beyond the frame’s bounds. Only drawn frames have **Clip content** enabled by default.
## Styling frames
Frames support all types of appearance properties like opacity, corners, fills, borders, shadows, inner shadows, effects, and tints. You can also apply [Layer Styles](/docs/symbols-and-styles/text-and-layer-styles/layer-styles/) to frames.
## Nesting frames
Frames can contain other layers, including other frames. By nesting frames you can separate and organize parts of your design individually, and bring them all together later on. This is particularly useful when working with [Stacks](/docs/designing/stack-layout/).
You can also wrap your current selection in a new frame. Press ⌘F, or choose **Arrange** > **Group as Frame** in the menu, or select **Group** > **Frame** in the toolbar. Wrapping your selection will give it no fill.
When you insert or draw new layers, we’ll highlight the parent frame on the Canvas to show where they’ll be placed. If you draw a new frame around existing layers, these will be reparented to the new frame.
When you draw a nested frame we automatically give it a distinctive blue fill to help distinguish it from its parent. Press ⇧F to toggle it, or change it in the Inspector.
Dragging a layer out of its parent frame or onto another frame will reparent it, but dragging onto a smaller frame will not. Moving a frame or layer with the arrow keys also does not change its parent. If you want to avoid reparenting while dragging, hold Space as you move the layer. This keeps the layer inside its current parent, even if you drag it over another frame.
## Sizing
Frame sizing options include the following, with some options available only in certain contexts:
- **Fixed**. The frame will have a specific size defined on the canvas or in the Inspector.
- **Relative**. The frame will resize relative to the size of its parent.
- **Fit**. The frame sizes itself to fit its contents. This option is available for [stacks](/docs/designing/stack-layout/) and text elements.
- **Fill**. The frame will always size to fill its container. You can use this options with Stacks.
By default, layers in frames use fixed width and height, so they won’t resize when their container changes. You can adjust these settings using the **Width** and **Height** dropdowns at the top of the Inspector, just below the size fields.
Double-click the edge of any frame to resize it to fit its contents. If you double-click on the corner handle you will resize to fit both width and height simultaneously. Alternatively, you can press ⇧⌘F to resize width and height to fit contents.
## Resizing
Resizing a frame adjusts its contents according to their sizing and pinning properties. Hold ⌘ to resize a frame without changing the size of its nested layers, regardless of their resizing options. Alternatively, use ⌥⌘-arrows [shortcuts](/docs/shortcuts/mac/#move-and-resize) to resize without changing the contents.
Use **Edit mode** to resize a frame without adjusting its contents, you can also move the frame using the keyboard arrows to change the position of the frame without changing the position of its contents. To enable Edit mode, use the button in the toolbar, head to **Layer** > **Edit** in the menu bar, or use the ⌘⏎ shortcut.
## Pins
By default, layers are pinned to the top and left edges of their container. This keeps them positioned relative to those edges when the container is resized.
Use the **Layer** > **Pin** menu, or right-click the pin control in the Inspector to assign, remove, or clear all pinnings on a selection.
- **Pin All** assigns pinnings to every edge of the selection’s container so it stays fixed on all sides when the container resizes.
- **Pin None** removes all pinnings, allowing the selection to move freely within the container.
Manually setting pins can be time-consuming. To speed things up, you can auto-pin a layer by clicking the “A” icon in the pinning controls in the Inspector. You can also head to **Layer** > **Pin** > **Auto Pin**, or press ⇧A. This will apply the most relevant pins based on that layer’s position within a frame (e.g. a layer in the bottom-right of the frame will get bottom and right pins).
Alternatively, to speed things up further, you can auto-pin all the contents in a frame by choosing **Layer** > **Pin**> **Auto Pin Contents** in the menu bar or ⌥⇧A.
Auto Pin is a one-time action, not a persistent setting. You’ll need to repeat it whenever you want to auto-pin newly added layers to a frame, or after moving a layer within a frame so that it’s closer to another edge.
Pins apply in more scenarios than only resizing the layer’s parent container. When you edit a layer’s width and height values, resize it with arrow keys, swap Symbols, and use different paste actions — we’ll respect where your layer is pinned, so your design remains laid out as you have it.
## Coordinates & Rulers
Frames define the coordinate space for their contents. This means that if you select a layer in a nested frame, its coordinates will reflect the distance to the top-left of the nested frame, not the top-level frame.
Rulers automatically update their origin to the closest frame when selecting a layer.
### Creating a template
To save any frame as a template, select it and choose **Arrange** > **Container** > **Set as Template** in the menu.

*How to create a Frame Template*
Any content, grids or guides you include within the frame itself will become a part of the template. If you update the original frame it will automatically update the template but not frames created from the original template. The frame will now appear under the **Current Document** dropdown option of the templates Library.

*How a template appears in the Library*
You can create custom preview thumbnails for your templates by adding a frame with the name `Previews/Frame_Template_Name` in the same document or Library.
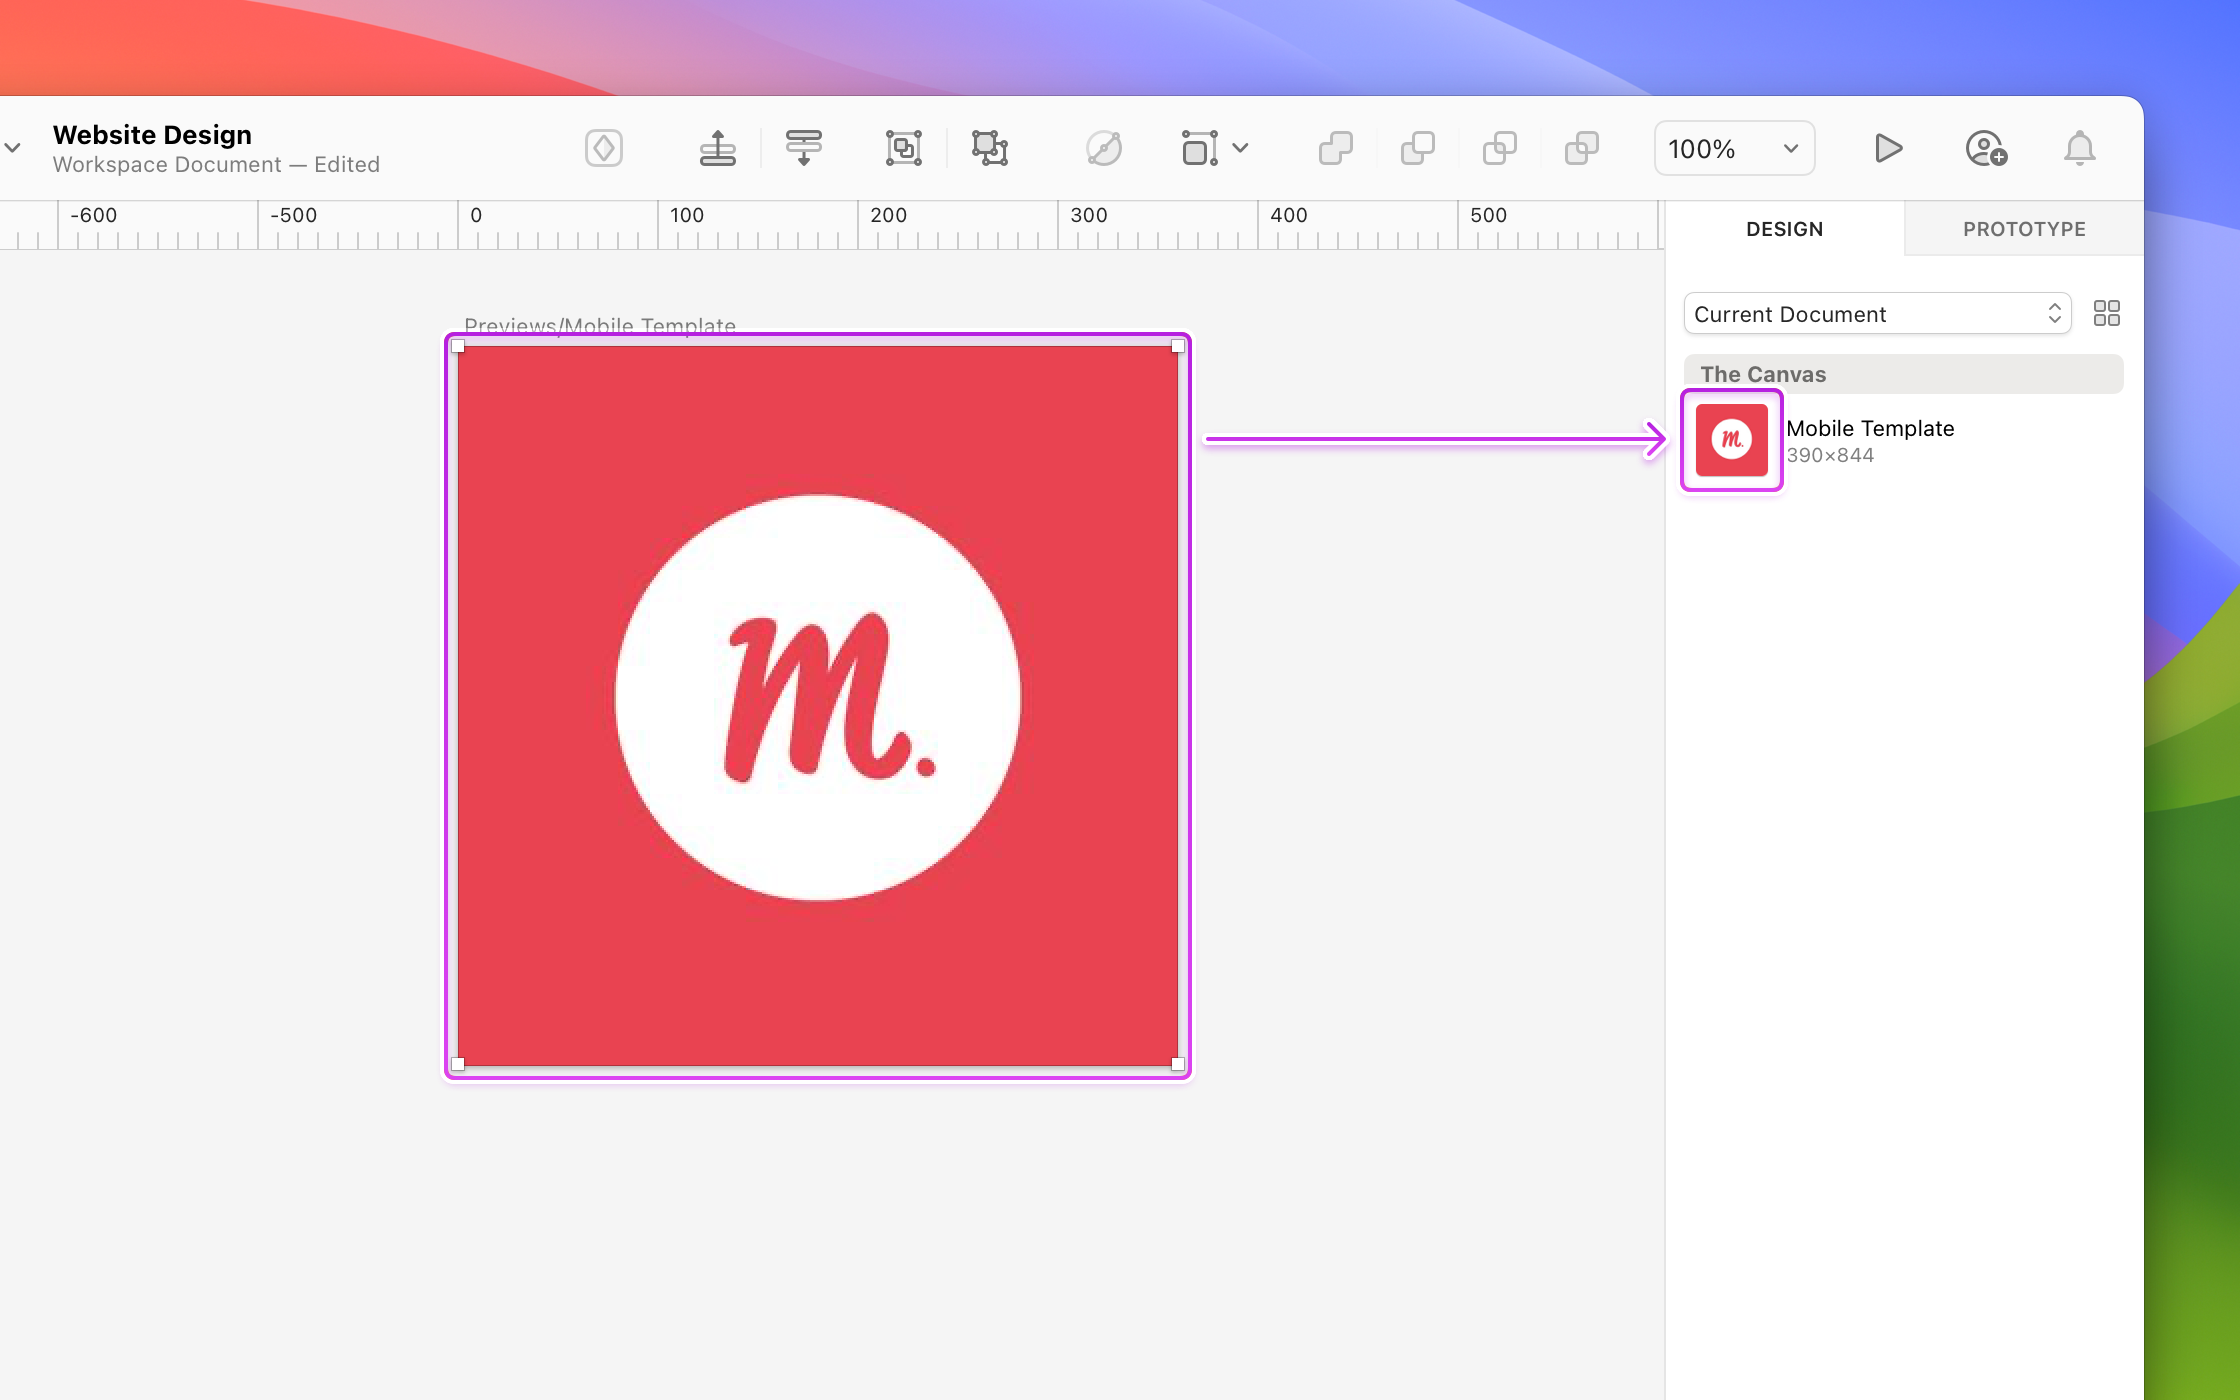
*Creating a Frame Template Preview*
Frame Templates can be included as part of a [Library](/docs/libraries/) to make them available for other documents.
## Working with frames
- Apply a fill to frames instead of using rectangle shapes as background layers in groups and frames.
- Press F to insert a frame equal in size as the last one you interacted with (top-level frame) on the Canvas. You’ll see a dashed line to indicate the size of the frame.
- When you drag a layer around, it will be nested in and out of frames as you move it.
- We’ve expanded the layer selection overlay to include dashed lines for its pinned edges, and a dashed box around its parent frame.
- To temporarily hide all selection highlights, just hold Space when idle.
- Use ⌥⌘ and press the arrow keys to resize a layer by your default nudge amount. Use ⇧ to resize by the larger nudge amount.
- Select a top-level frame and press ⇧⌘C to copy a link to it. You can share the link or click the arrow in the toast at the bottom of the Canvas to open it in your browser. Otherwise, it copies a link to the current page to your clipboard. This only works for Workspace documents.